What you'll need
Tools
- 2.5" angled sash brush
- 9" roller frame + 1/2" nap sleeves (2)
- Roller tray + liners
- Painter's tape (e.g. FrogTape)
- Drop cloths
- Spackle + putty knife
- Sanding sponge (220 grit)
- Step ladder
Materials (per ~12x12 room, 2 coats)
- ~1 gallon premium interior latex (Behr Marquee, Benjamin Moore Regal, or CIL Smart3 — all stocked at Home Depot/Rona/Canadian Tire)
- Primer only if covering dark colour or fresh drywall
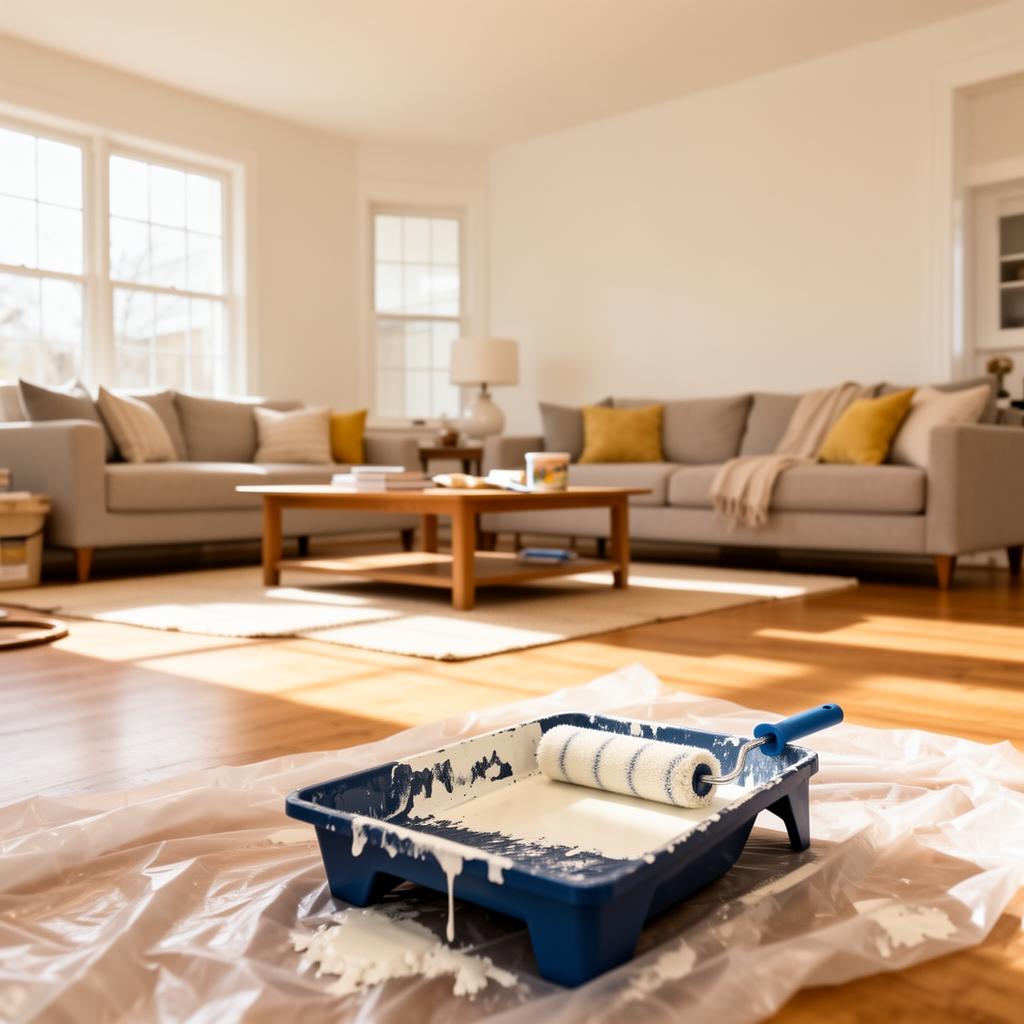
Step 1 — Prep the room (45 min)
Move furniture to the centre, cover with plastic. Lay drop cloths along walls. Remove switch plates and outlet covers.
Step 2 — Patch and sand (30 min)
Fill nail holes with spackle. Let dry 20 min, sand smooth. Wipe walls with a damp microfibre cloth.
Step 3 — Tape edges (20 min)
Tape ceiling line, baseboards, and door/window trim. Press firmly with a putty knife for a clean seal.
Step 4 — Cut in (45 min)
Using the angled brush, paint a 2–3" band along ceilings, corners, and trim. Work in 4-foot sections so the edge stays wet.
Step 5 — Roll the walls (1 hr)
Load the roller evenly. Roll in a large "W", then fill in without lifting. Always finish each section with light top-to-bottom strokes for an even finish.
Step 6 — Second coat (after 4 hrs)
Repeat cut-in and rolling. Most modern paints need 2 coats for full coverage.
Step 7 — Pull tape & touch up
Remove tape while paint is still slightly tacky for crisp lines. Touch up any missed spots with the brush.
Pro tips
- Buy ONE premium gallon instead of two cheap ones — coverage and durability are dramatically better.
- Box your paint (mix multiple cans together) if you bought more than one — eliminates colour variation.
- Save the can label — colour codes fade. Snap a photo too.