What you'll need
Tools
- Tapping block + pull bar (LVP install kit, ~$25 CAD)
- Rubber mallet
- Utility knife (scoring) or jigsaw
- Spacers (1/4")
- Tape measure, pencil, square
Materials
- Click-lock LVP planks — add 10% for waste (15% if room has many cuts/angles)
- Underlayment if planks don't have it attached
- Transition strips (T-mould, reducer)
- Quarter round or new baseboards
Step 1 — Acclimate (48 hrs)
Stack unopened boxes flat in the install room for 48 hours so the planks reach room temperature and humidity.
Step 2 — Prep the subfloor
Subfloor must be flat (no more than 3/16" variance over 10 ft), clean, and dry. Vacuum thoroughly.
Step 3 — Plan the layout
Measure the room. Aim for end planks at least 6" wide — adjust by trimming the first row if needed. Stagger end joints by at least 8" between rows.
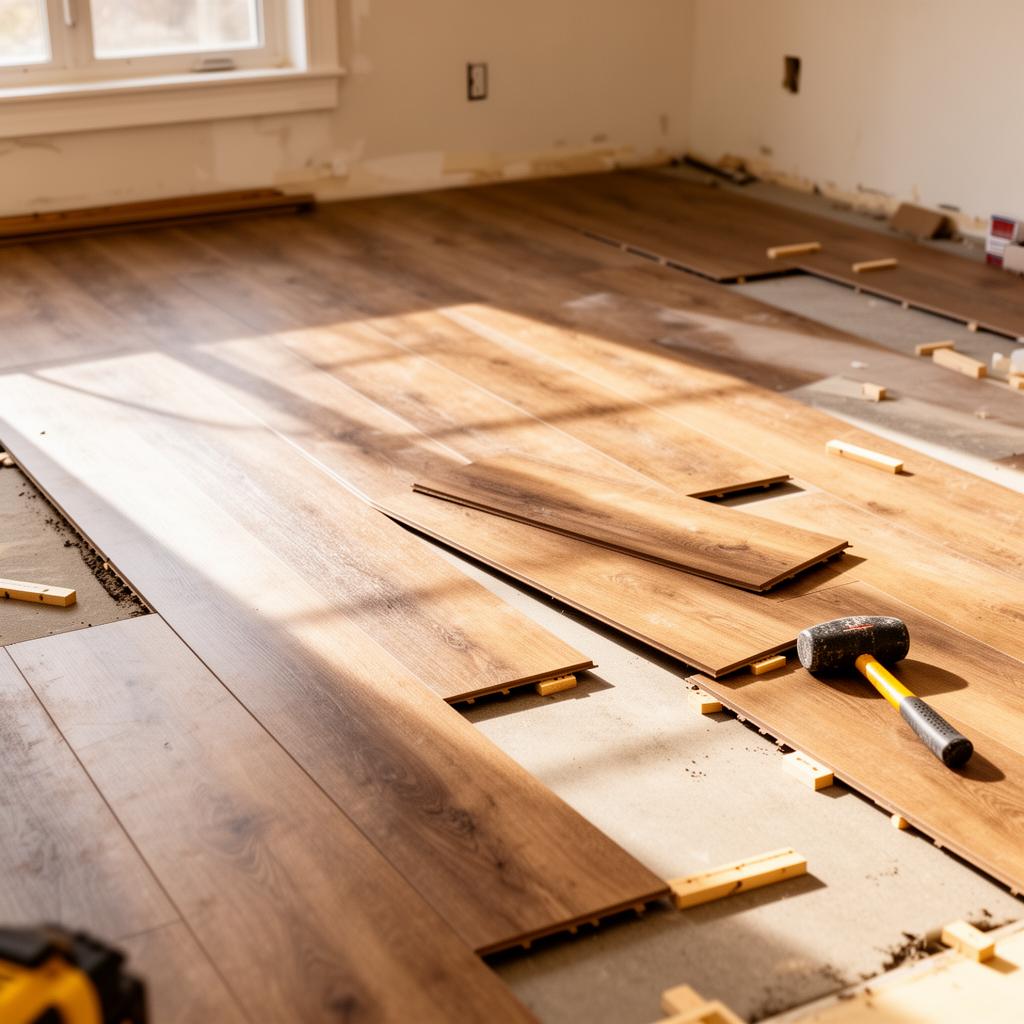
Step 4 — First row
Place spacers along the starting wall. Trim the tongue side facing the wall. Click planks end-to-end across the row.
Step 5 — Subsequent rows
Angle the long edge of the new plank into the previous row, then tap the end joints together with a tapping block. Use the pull bar against walls where the mallet won't fit.
Step 6 — Cuts
Straight cuts: score with a utility knife (5–6 passes), snap. Notches and curves: jigsaw with a fine-tooth blade, cut from the back to avoid chipping.
Step 7 — Last row
Measure each plank individually — walls are rarely straight. Rip to width on a table saw or score-and-snap.
Step 8 — Trim
Remove spacers. Install quarter round or reinstall baseboards. Install transition strips at doorways.
Pro tips
- Mix planks from 3 different boxes as you install — avoids visible colour patches.
- Floating floors need a 1/4" expansion gap around ALL fixed objects (walls, pipes, cabinets).
- Don't fasten quarter round to the floor — only to the baseboard — so the floor can move.