What you'll need
Tools
- Utility knife
- Putty knife (4" and 6")
- Drywall saw
- Sanding sponge (150 + 220 grit)
Materials
- Pre-mixed lightweight joint compound (DAP, CGC)
- Self-adhesive mesh patch (3"x3" or 6"x6")
- For larger holes: scrap drywall + 1x3 furring strip + drywall screws
Small holes (nail / screw holes)
Fill with spackle, scrape flush, sand after 20 min, prime, paint.
Medium holes (up to 4")
- Trim loose paper around the hole with a utility knife.
- Apply self-adhesive mesh patch over the hole.
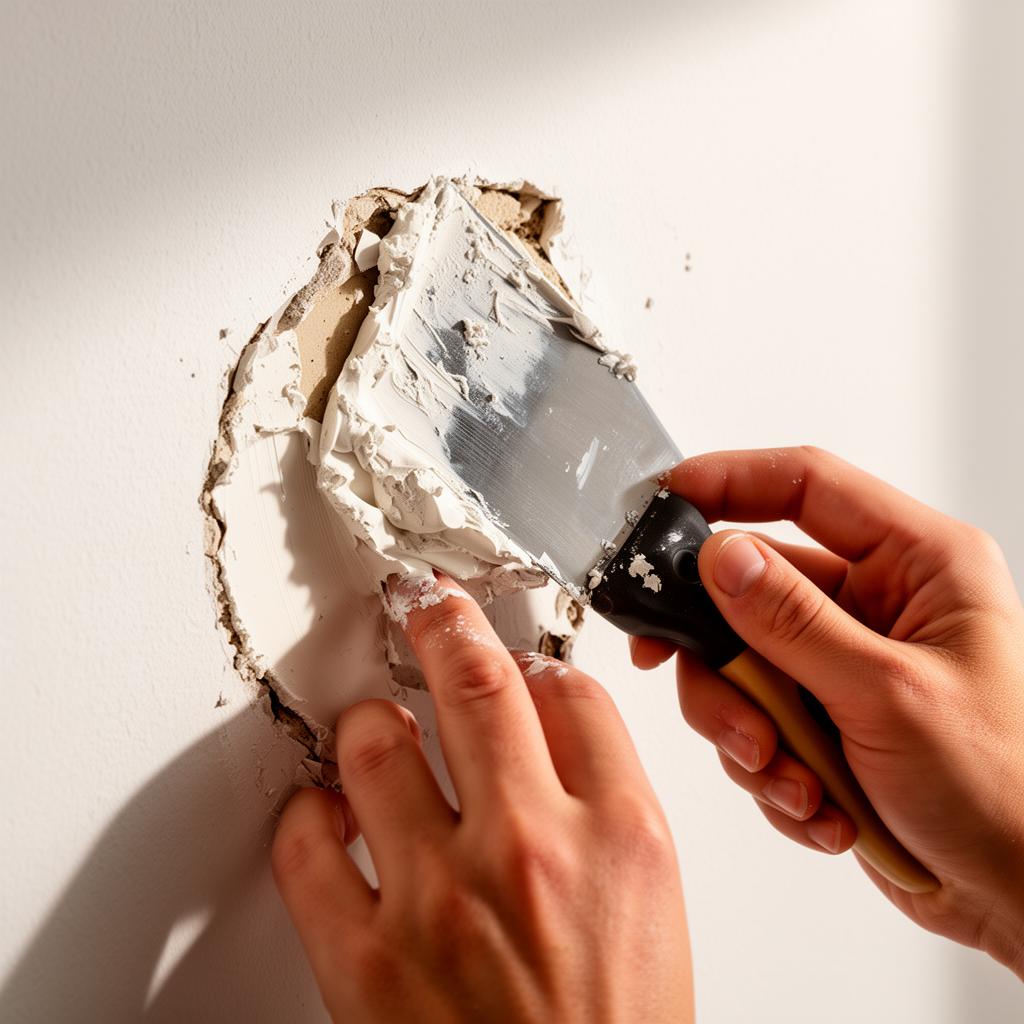
- Spread a thin coat of joint compound over the mesh, feathering 4" past the edges.
- Let dry 4–6 hrs, sand lightly, apply second thinner coat 6" past edges.
- Dry overnight, sand smooth, prime, paint.
Large holes (> 4")
- Cut a square around the hole using the drywall saw.
- Cut a piece of 1x3 wood ~4" longer than the hole, slip behind the wall, screw it to the existing drywall.
- Cut a drywall patch to fit the hole, screw it to the wood backer.
- Tape all four seams with paper tape and joint compound. Apply 3 coats, each feathered wider, sanding between.
- Prime and paint.
Pro tips
- Always feather wider than you think — 3 thin coats beat 1 thick one.
- Use a damp sponge instead of sandpaper for the final pass — zero dust.
- Prime patched areas before painting or they'll "flash" (look dull).